Some time after you have planted your hop rhizomes, bines will emerge from the soil. Hops grow on bines (distinct from vines in that it climbs by its shoots, not using tendrils or suckers) which need to be trained up a vertical space.
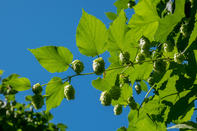
Once they have been trained around a trellis or hop twine they will begin growing in an anticlockwise direction on their own. Four to six healthy bines should grow from each plant/rhizome. Watch your plant to make sure there are no damaged or weak shoots.
Do not allow your bines to become tangled as this will promote crowding which could lead to shade damage and infestations. Inspect leaves regularly for powdery white mildew and look out for pests such as aphids. Check the soil around your plant and clear weeds and debris that will hinder growth.
You should also keep the soil moist, however, be careful not to over-water your plant. Water your plant in the morning to allow the leaves to dry off during the day. Only occasional checks for dryness are necessary. In South Africa monitoring your growing hops plant is important as problems that are caught early on are easier to correct.
How to Care for a Hops Plant
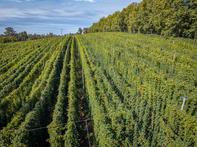
When bines emerge from the soil it is time to start caring for your hops plant. Bines are ready to be trained when they are 15 cm high. They can be trained by being gently wrapped around a trellis or hop twine.
This needs to be done for a few days, after which the bines will start to grow in an anticlockwise direction by themselves and can be monitored regularly. As the plant grows it is important to remove any weak or damaged shoots.
Once the hops have been growing for a few months it is a good idea to trim the leaves on the bottom 60 cm of the plant to prevent damage from disease and fungus.
You can water and nutrient feed (fertilize) your hops plant occasionally, depending on what is needed. Remove all weeds and debris from the soil around the plant. If you notice any powdery white mildew on the bottom of some leaves, trim them off immediately and dispose of them outside your yard.
You may use a natural pesticide to control aphids and other pests that disturb your crop. Care for your crop consistently until the hops are ready to harvested in the late summer.
Harvesting Hops
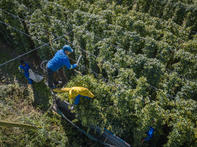
The time to harvest your hops will vary depending on your location and season, however harvesting usually takes place in the South African summer. You should check the leaves of your plant as an indication of when they are ready to be harvested. When the leaves of the hop cone start to turn brown and papery around the edges the hops are ready to be harvested.
To be sure, you can break the hop cone open. The lupulin glands in the middle (core) should be yellow and sticky. Pick out the hops that are ready and leave behind the ones that are not. Be sure not to harvest the hops before they are ripe as this will hinder their potency and adversely affect the beer’s flavour. To harvest the hops, gently twist the hop cones off the shoots.
Drying Hops to be Used
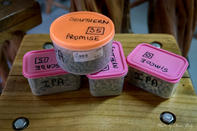
Once you have a harvested crop of hops you need to dry them to be used. Place the ripe hops on a flat surface. Make sure they are laying only a single layer deep and are out of the sunlight. As they dry, flip them over to ensure they are evenly dry on all sides.
This process should be continued until the hops are completely dry - this is when the inner stem is brittle enough to break and not bend. The dried hops can now be stored in an airtight container in the freezer until you wish to use them.
Other Uses for Hops Besides Beer
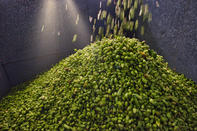
Hops is known for being used to make beer, however it can be used for other purposes. Hops is used in several folk medicines and natural remedies to ease insomnia, reduce anxiety and aid in digestion amongst other things.
Research is done to determine whether it can be used to alleviate menstrual and menopausal symptoms. In additions to being used as an ingredient in beer, hops is sometimes used as an ingredient in a variety of food recipes and some natural deodorants and can even be pulped to make rudimentary paper.